Refinishing our dining room table
|
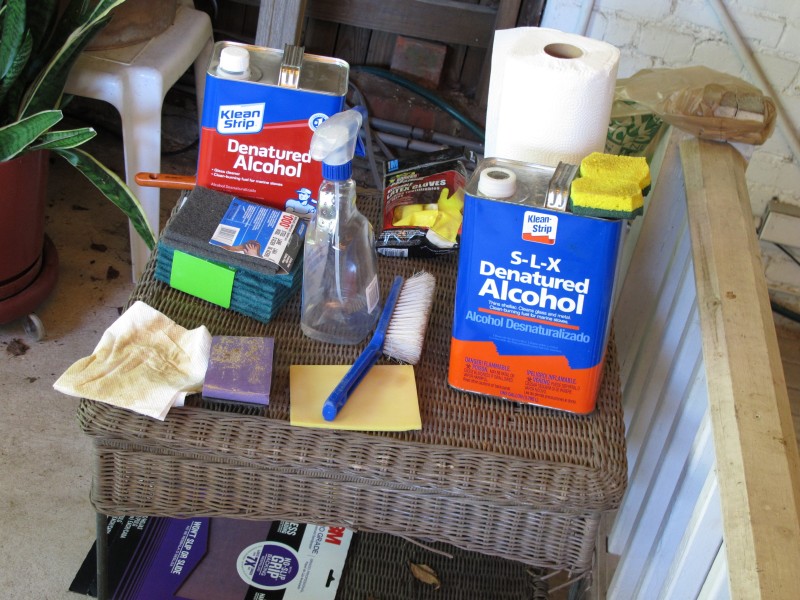
The weapons: denatured alcohol, scrubbby pads, spray bottle, and paper towels We bought our cherry dining room table about 16 years ago. It was manufactured by the Stickley Company, in Manlius NY. This is the descendent of the original company founded by L. and J.G. Stickley (brothers of the more famous Gustav) back in 1900. It has existed to this day, albeit under new ownership, manufacturing a mixture of Arts and Crafts, Classic, and Contemporary designs. The person who sold us the table knew we had a small child, and vaguely said "we'll make sure we give it a more durable finish". We never really knew exactly what that finish was, or what the standard finish would have been. It did look great in the beginning and lasted for a number of years. However recently, it had became increasingly compromised. We noticed that large sections of the surface had become sticky, especially in warm weather. If you left a newspaper lying on the table for any time, it would bond to the surface and require water to soak it off. In other areas, routine contact with human skin had rubbed the finish down to bare wood. The poor condition was no doubt helped by many years of enthusiastic application of Lemon Pledge to the surface (not by us!) - a big No No for fine furniture. In any event, after a long period of procrastination, I asked Karen to help me wrestle the table out onto our back patio where I had laid down some drop cloths. I now rolled up my sleeves and got ready for business. The first question was: What exactly was the original finish? The answer that question would have a big impact on what I needed to do to remove it. Based on the warm weather softness and other clues I had long suspected that it was shellac. Sure enough, when I tested it with some denatured alcohol, everything got very sticky and I was able to wipe down to bare wood with some paper towels. This was a big relief since I was dreading having to work with commercial stripper, a very nasty product indeed. Ethanol, on the other had, has very little impact on the environment, dries quickly, and the vapors are much less undangerous to inhale, especially outdoors in good ventilation. You might be asking "why didn't I just take it down with a sander?". Well, for one thing, I was leery of using a power tool on such wonderful looking cherry. More importantly, my internet searches made it clear that professional refinishers vastly prefer stripping to sanding, since sanding cannot easily get at cracks or crevices. |
|
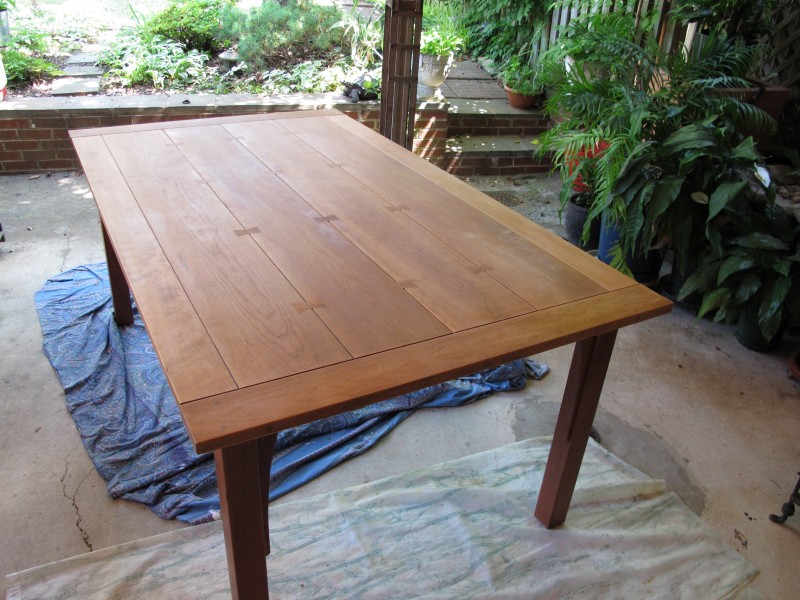
The table stripped and ready for the new finish. It took about two hours to strip the entire top surface of the table and the edges (I didn't bother with the legs, which were in fine shape). At first I just slopped ethanol onto the surface and worked away with green scrubby pads. But they quickly gummed up with sticky shellac residue, and it turned out to be easier to simply tear off a a few sheets of paper towel and wipe with that. Reading the information on the web, you get the impression that after just a few wipes the old shellac is gone. It's actually a little messier than this. The shellac doesn't simply disolve - instead it turns sticky. When you scrub at it with your paper towel, like rubber cement, it rolls up into little shreds. But if you soak each section two or three times, eventually you can get it all off. About half-way through I got the idea of filling a spray bottle (an empty Windex bottle) with ethanol, whch gave me more precision and control and wasn't nearly so profligate with the solvent. |
|
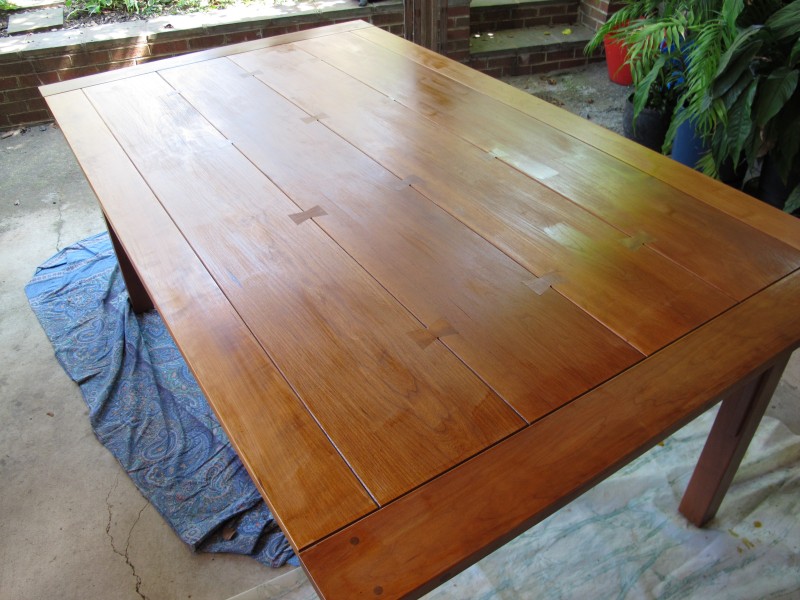
One thin coat of shellac applied So what finish did I put on after stripping off the old shellac? More shellac of course! As I do more wooodworking with handtools, I have become a fan of shellac, one of the oldest and most traditional finishes. Shellac is forgiving to work with. It builds wonderfully to a warm and rich appearance. Cleanup is easy, in fact, once you have a dedicated shellac brush, you don't need to be all that fastidious about cleaning out every trace of shellac from the bristles. Clean it, put it away, and at the next use, simply dip the brush in clean ethanol and it will immediately soften and be ready for use. The main knock against shellac, of course, is that it is alcohol soluable, which would suggest a less than ideal finish for a dining table. But I disagree. Since my son is now grown and gone, we no longer have to deal with a big food mess at his place at the table. We are not big entertainers, and I can't remember the last time I or anyone else spilled a drink onto the surface. And having stripped the original finish, I can see how easy repair and maintainance is. So, shellac it was. |
|
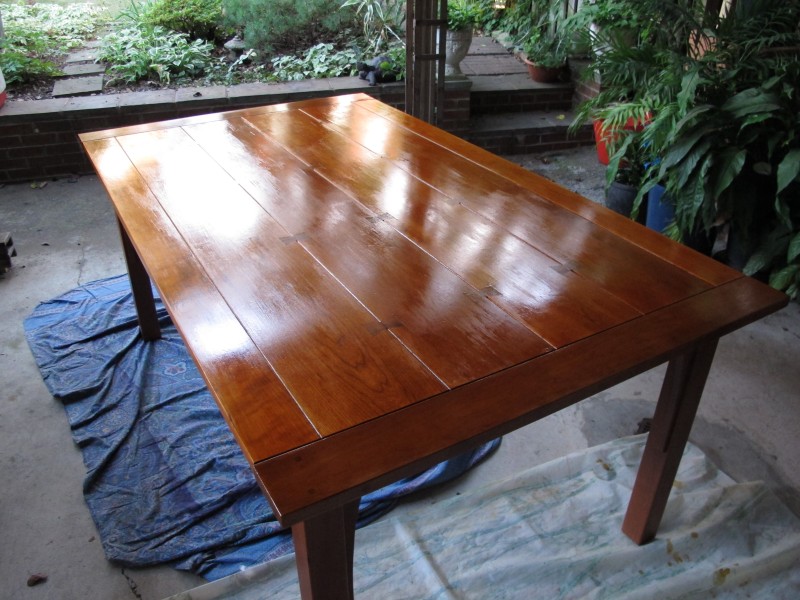
Three coats applied - still thin and streaky in places Applying shellac can be a little tricky, and my skills still need improvement. Because the solvent is ethanol, drying time is fast. The brush will start to drag in just a minute or two. When this happens, stop brushing that section immediately and move on to a new section. Resist the temptation to rework a section (which I often do with oil-based finishes). Reworking the shellac is the surest way to mess things up. Fortunately, when dry (which hardly takes an hour), mistakes can be lightly sanded or wiped with an alchohol soaked cloth and tend to disappear after another coat or two. One benefit of the fast drying time, of course, is that you can easily apply 4-5 coats ina single day. In fact, I stripped the old finish and applied five coats of new shellac between about 10am and 7pm on a Sunday. (By the way, I apply a light cut - I dilute the out-of-the-can Zinssers with at least an equal part of alcohol.) |
|
After six coats, but I still see brush marks Here is the finished product after six coats. Unfortunately, I can still see brush marks, a byproduct of my poor brush technique. There is a great American Woodworker article covering several aspects of applying shellac. According to the author, Mitch Kohanek, six coats isn't nearly sufficient. He recommends at least 9 coats. He also recommends getting a new brush. I bought a 2" Loew Cornell 7550 from Holcraft. It cost $35 but my hope is that it will be much less prone to leaving brush marks than the motley assortment I currently us. Stay tuned, a full report is forthcoming. |